Blog
October 7, 2021

Jenkins is one of the most popular open source automation server solutions for continuous integration and continuous delivery on any platform. As a Java application, Jenkins has many plugins for automating almost everything at the infrastructure level. The use of Jenkins has widely increased in the developer community due to this rich set of functionalities, which it provides in the form of plugins.
In this blog, we will show you a step-by-step guide on how to install Jenkins on a Windows platform. This blog will include both detailed text explanations and screenshots, so you can easily follow the instructions.
By installing Jenkins on Windows, teams can then start using Jenkins at scale to incorporate automation into their development cycles for improving code quality and getting immediate feedback. This is truly the way to shift left and introduce agility in your development lifecycle.
Let’s get started.
How to Configure Jenkins For Windows
To start configuring Jenkins for Windows, you first need to install OpenJDK. Jenkins currently only supports JDK8. Once Java is running, you can then install Jenkins.
1. Download the latest Jenkins package for Windows (currently it is in version 2.).
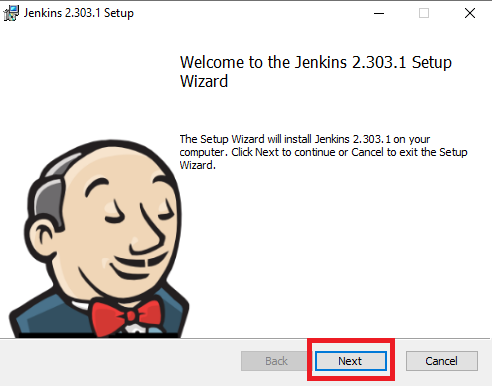
2. Once it is downloaded, it will open a wizard on your screen. Click “Next” to start the Jenkins installation.
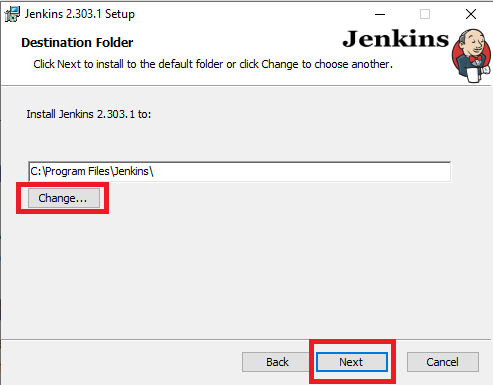
3. Click the “Change…” button if you want to install your Jenkins in another folder. In this example, I will keep it simple and use the default option by clicking on the “Next” button.
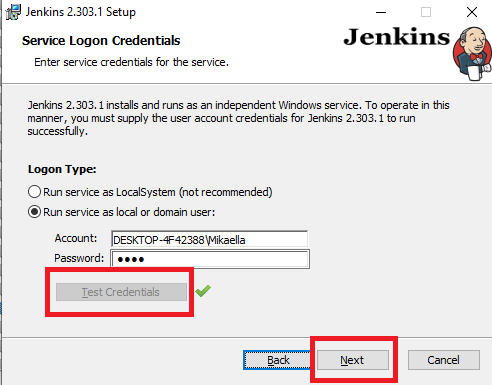
4. Enter the service logon credentials. It is recommended to select the second option “Run service as local or domain user” as it is more secure. To run the Jenkins service using this option, you have to enter the domain username and password. Click on the “Test Credentials” button to test your domain credentials, and you will enable the “Next” button. Then, click on the “Next” button after it appears.
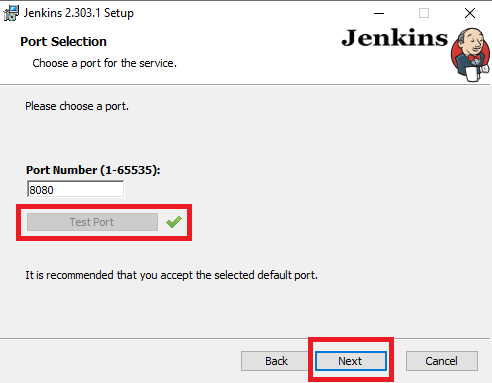
5. Enter the port on which Jenkins will be running. Click on the “Test Port” button to validate if it is free.
6. Select the Java home directory, and then click on the “Next” button.

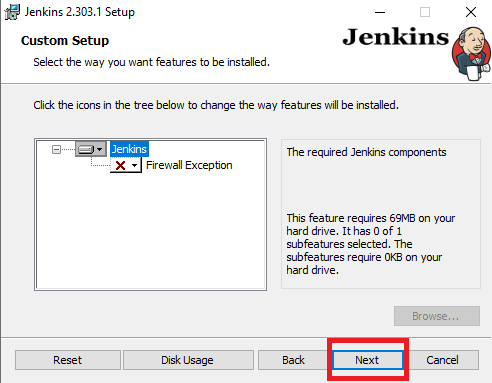
7. Select any other services that need to be installed with Jenkins and click on the “Next” button.
Back to top
Jenkins Installation on Windows
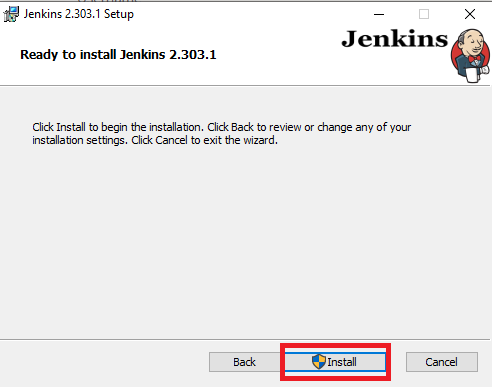
8. Click the “Install” button to start the installation process.
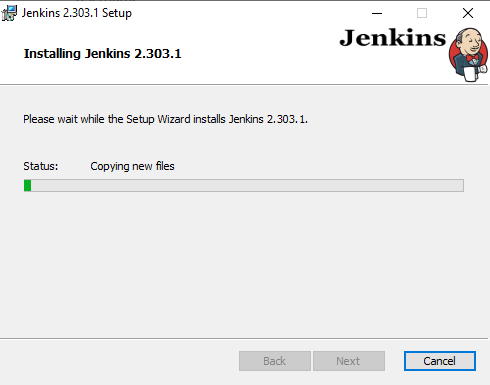
9. The installation will proceed accordingly.
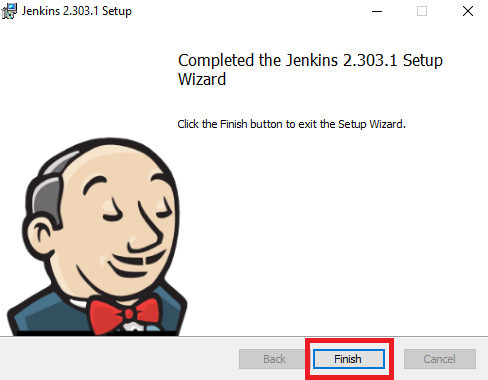
10. When done, click on “Finish” to complete the installation process. Now that the installation process is out of the way, you need to follow a few more quick steps before you start using Jenkins on Windows.
Back to top
Unlock Jenkins For Windows
11. You will automatically be redirected to a local Jenkins page, or you can paste the URL http://localhost:8080 in a browser.
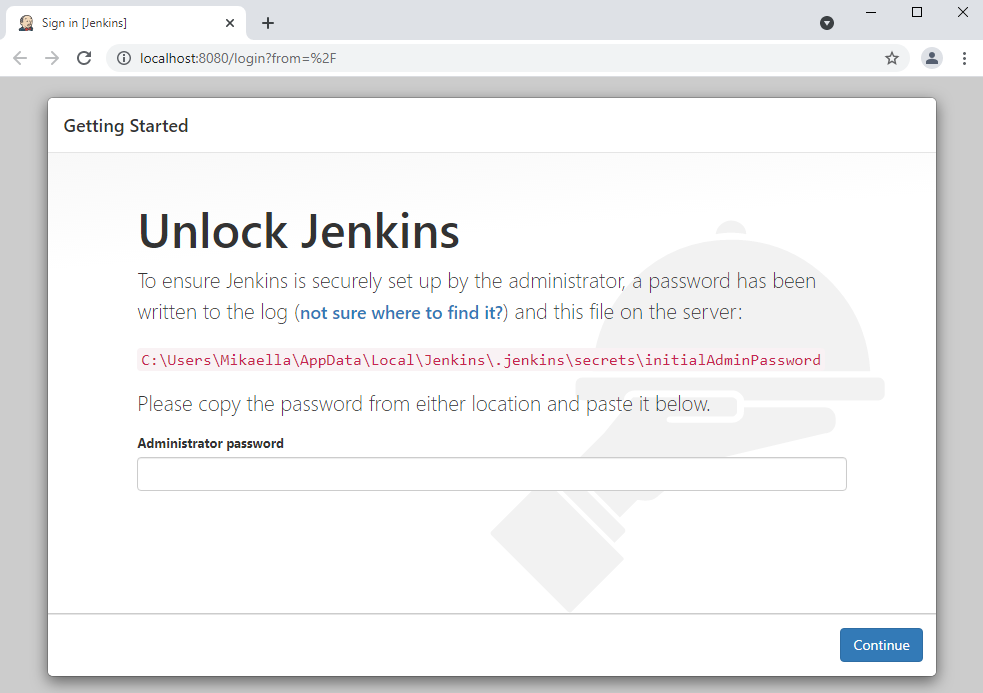
12. To unlock Jenkins, copy the password from the file intialAdminPassword. This file should be found under the Jenkins installation path (set at step 3 in Jenkins installation). If a custom path was entered, then you should check that location.
Copy the content of the initialAdminPassword file and paste it into the Administrator password field. Then, click the Continue button.

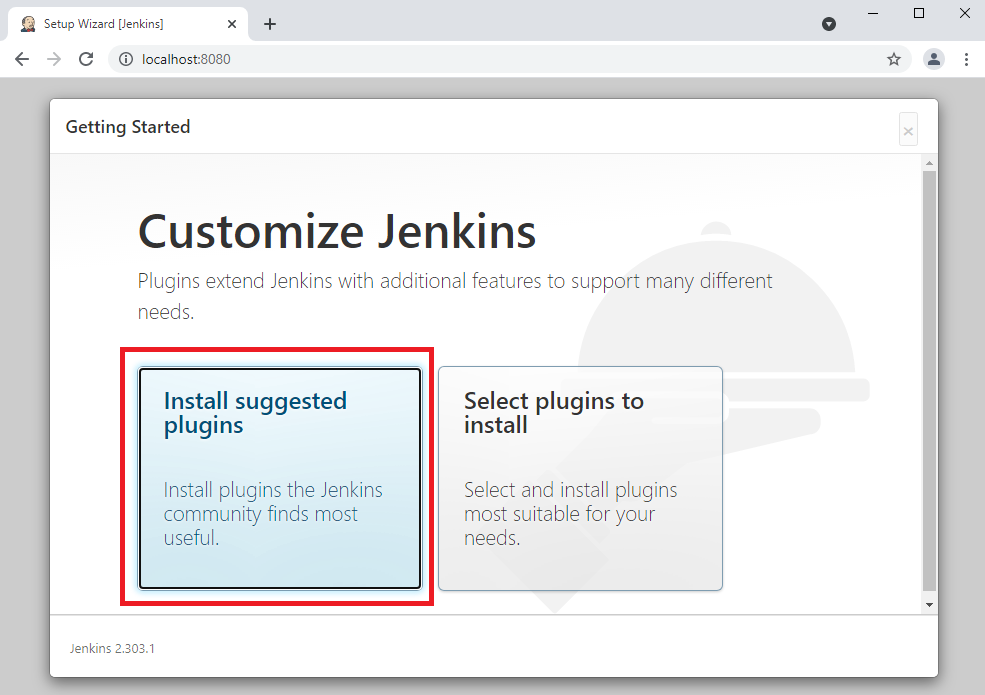
13. You can install either the suggested plugins or selected plugins you choose based on your needs. To keep it simple, we will install the suggested plugins that the Jenkins community finds most useful.
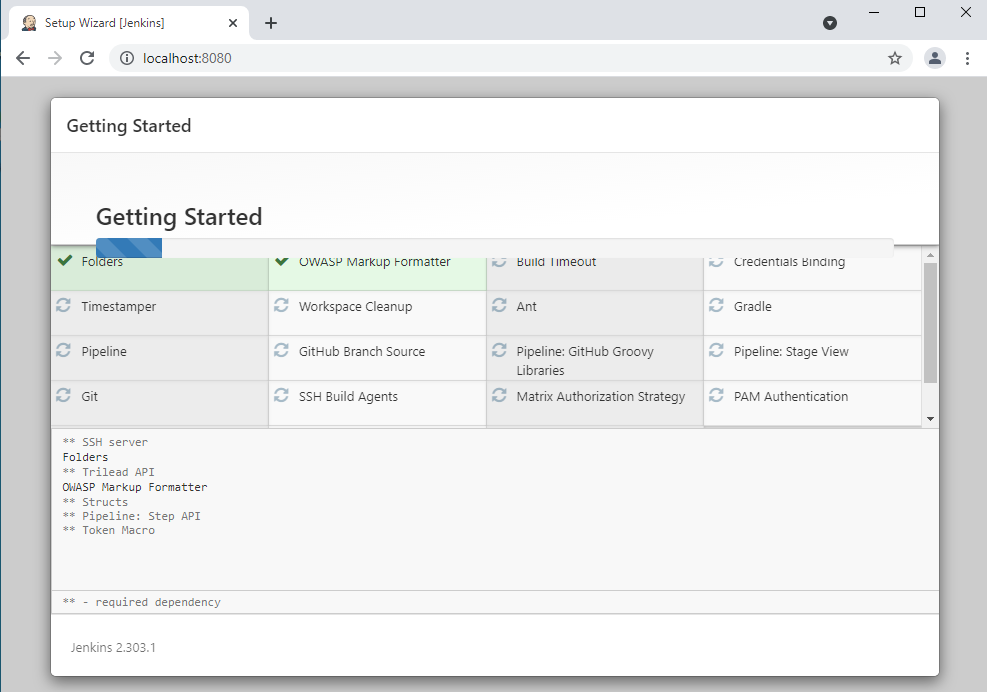
14. Wait until the plugins are completely installed.
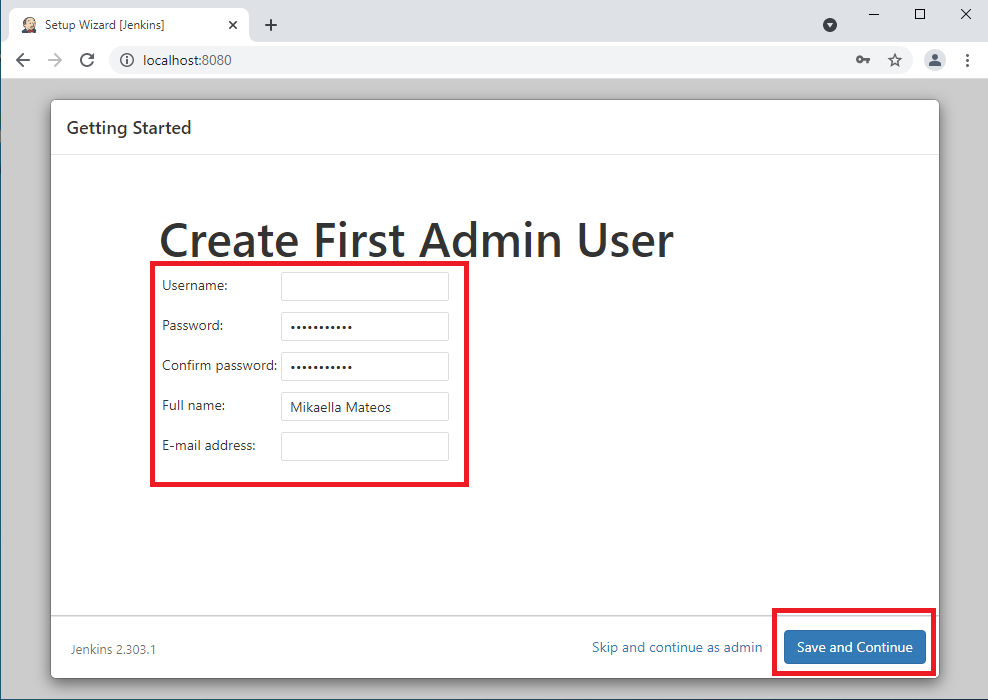
15. The next thing that you should do is create an Admin user for Jenkins. Then, enter your details and click Save and Continue.
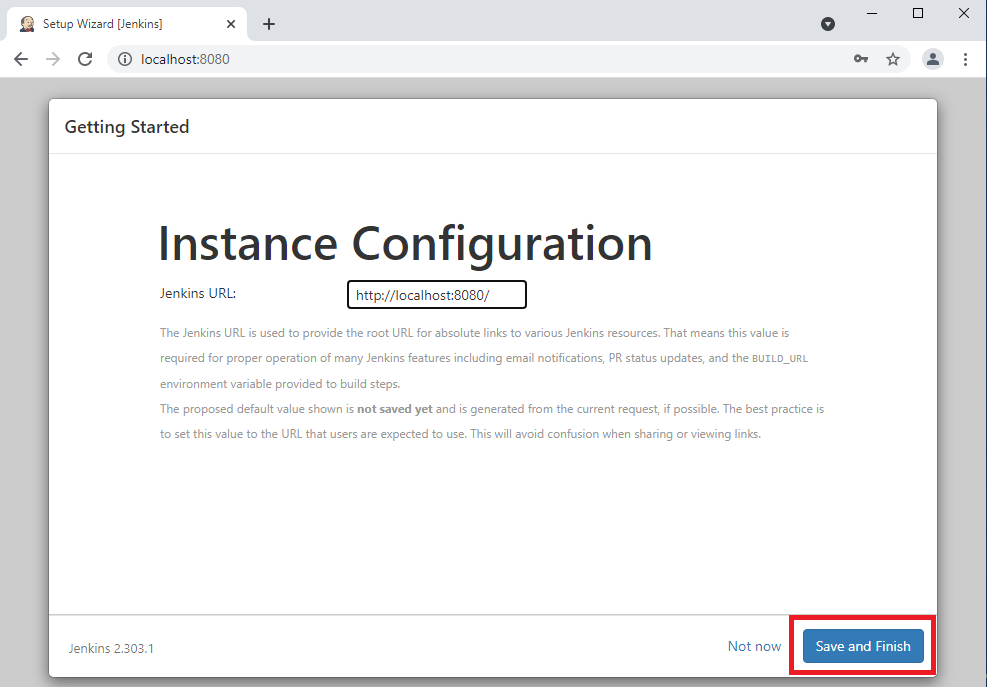
16. Click on Save and Finish to complete the Jenkins installation.
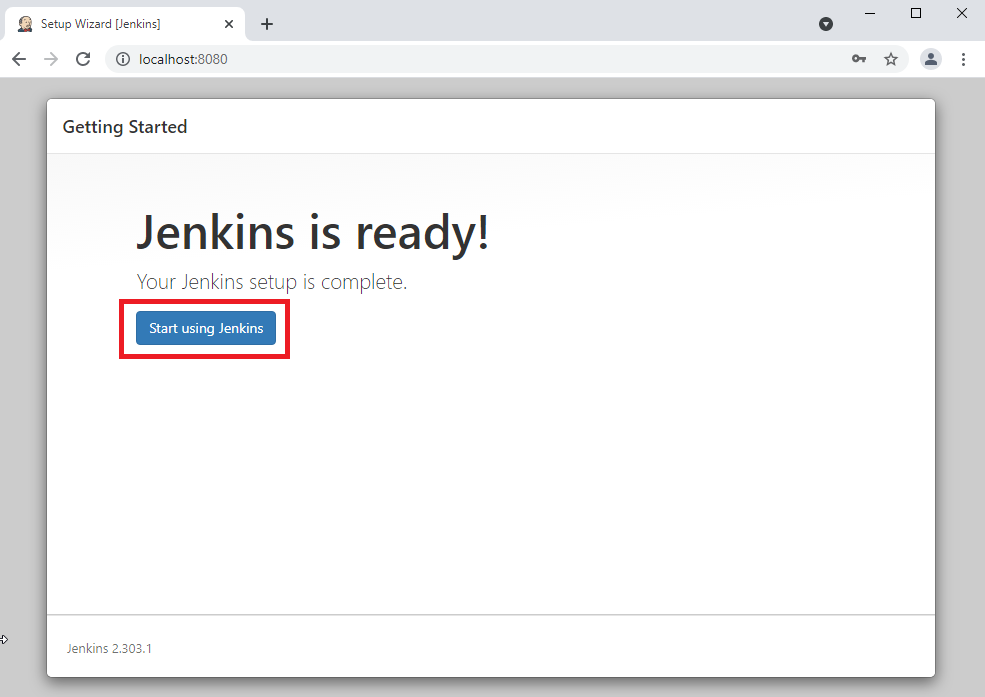
17. Now, click on the "Start using Jenkins" button to start Jenkins.
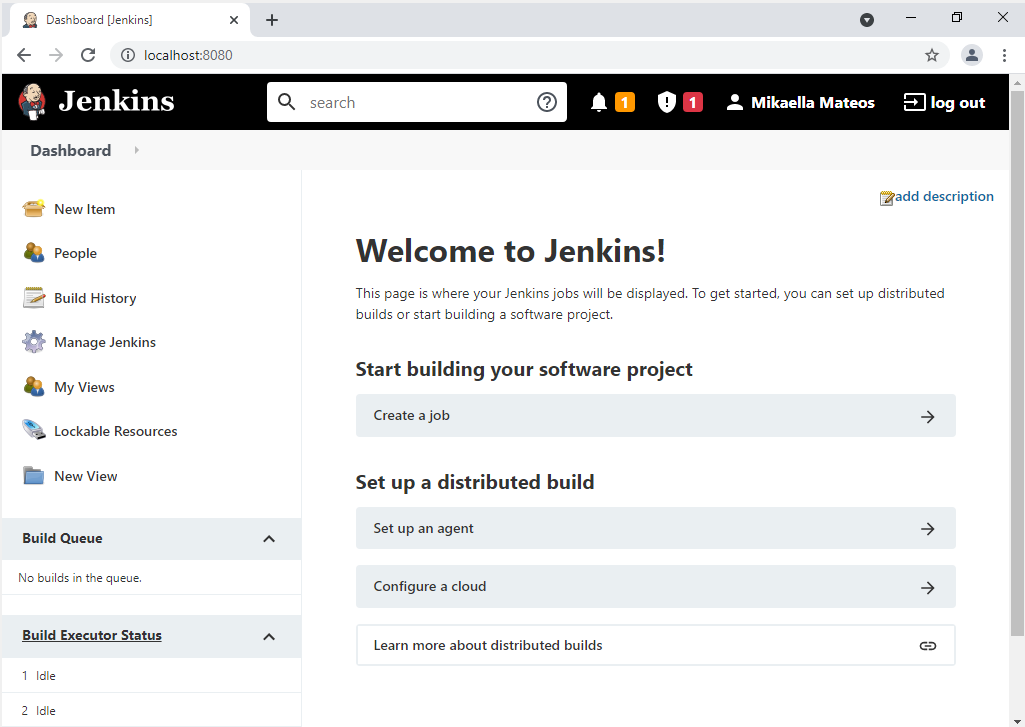
18. Finally, here is the default Jenkins page. Jenkins is now installed and running on Windows, and you are ready to start building your CI/CD pipeline.
Back to topBottom Line
You can now install Jenkins on Windows and start creating your continuous integration pipeline. You are well on your way to becoming an automation and CI/CD expert.
Jenkins enables you to incorporate your development processes in a CI/CD pipeline. JMeter and BlazeMeter are both supported by Jenkins, so after installing Jenkins you can have them configured to run your load tests after every build, every night or whenever you need them. To enable this, there is a BlazeMeter Jenkins plugin, which pushes the test to Jenkins and shows results.
Access BlazeMeter today and start running your load tests in the cloud for free.