Blog
January 29, 2021
Gatling Installation, Verification and Configuration - the Ultimate Guide

Performance Testing
In this blog post we will show you how to install the Gatling installation framework. At first glance, it may seem that installation is very straightforward. It actually is, but there are a couple of issues you might encounter during installation and we want to make sure you know how to approach them.
Back to topWhat is Gatling Installation?
Gatling is a powerful load testing tool for writing tests in Scala. There is no specific installer or exe file for Gatling. Only the bundles that need to be downloaded and unzipped. Gatling installation must be done so you can start your load testing.
In our previous article we showed why we recommend using Gatling, despite Scala’s relatively small popularity and the strong competition from other open source performance frameworks. Read on to learn tips and tricks to avoid and diagnose issues you might encounter during the installation process.
Back to top
Getting Started with Gatling Installation
As Gatling is written in Scala, it can be run on any OS (operating system) and the only requirement is to have the Java installed on the machine. Moreover, in order to use Gatling and run the load tests, you need to have the JDK (Java Development Kit) installed. The latest version of Gatling requires JDK 1.8 at least so you need to be sure you don't use the older version. You can check your current JDK version by executing this command in your terminal (command line):
> javac -version
If JDK is installed on your system, you should see a similar output to this one:

If you see a similar output and the JDK version is at least 1.8 then you can skip the Java installation steps. Otherwise, check this link to download the latest JDK version based on your local system. As soon as the JDK installation file is downloaded, you can just run it and proceed with a very straightforward installation process where you basically only need to accept a couple of agreements.
Also, to prevent unexpected issues caused if you have a few Java versions installed on your machine and Gatling uses the version you do not intend it to use, it is always recommended to set the JAVA_HOME system variable. This variable should point to the correct version of Java, because this is the main way Gatling uses to locate Java on your machine when launching. These official instructions might be useful and will tell you how to set the JAVA_HOME variable based on your OS.
After all Java magic is complete, you can proceed with the Gatling distribution downloading from the official source, where you can always find the latest version (2.3.0 on the date of writing the article). As soon the distribution has been downloaded, unzip it to any preferred location. However, you need to keep in mind that it is better to unzip the distribution into your user’s home location or in some other folder you have full user permission to. For example, it is not recommended to put the distribution in system folders as you might encounter lots of issues during application execution.
As the next step you just need to unzip the downloaded distribution into the preferable location using any application that can open zip archives. If you don’t have a desktop application for this, you can use the terminal and unzip the Gatling installation distribution using these commands:
- > tar xvf gatling-charts-highcharts-bundle-2.3.0-bundle.zip (UNIX)
- > unzip gatling-charts-highcharts-bundle-2.3.0-bundle.zip (Windows)
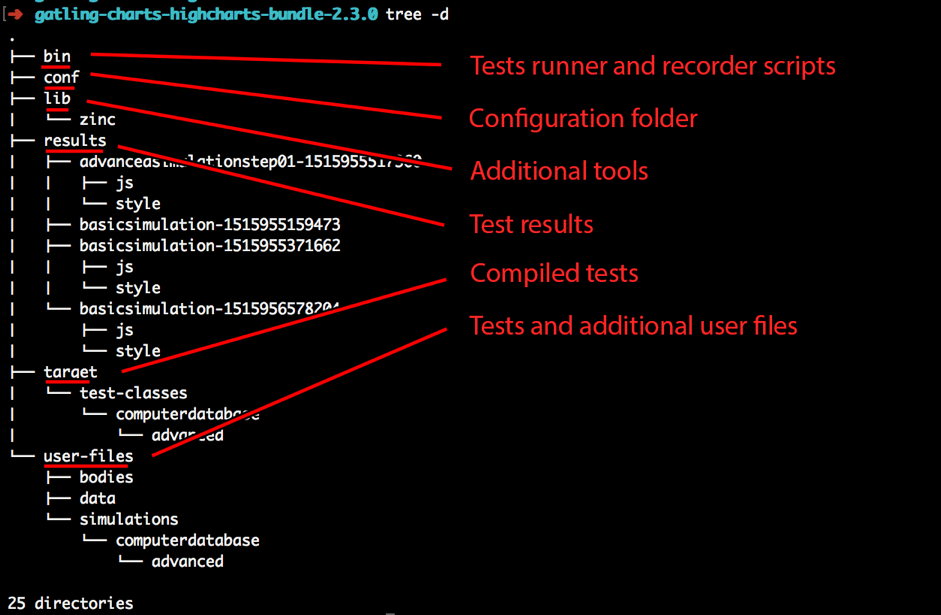
In the screenshot below you can find a short explanation for the Gatling framework folders:
Back to top
Gatling Installation Verification
Gatling is code-based performance testing framework and it doesn’t have a GUI desktop application to run the tests. That's why, to verify that Gatling can be run successfully on your local machine, you need to execute a Gatling performance test scenario using a Gatling tests runner. Fortunately, Gatling has a few scripts that you can use right after installation just for that, instead of creating your own.
To execute one of these test scripts, you need to run the Gatling tests runner, which is located in the Gatling ‘bin’ folder. The Gatling distribution has default simulation scripts that can be run to check if everything has been installed correctly and that Gatling works as expected. In the terminal, go to the downloaded Gatling distribution and after that execute the runner scripts according to your local system environment:
- > ./gatling.sh (UNIX)
- > ./gatling.bat (Windows)
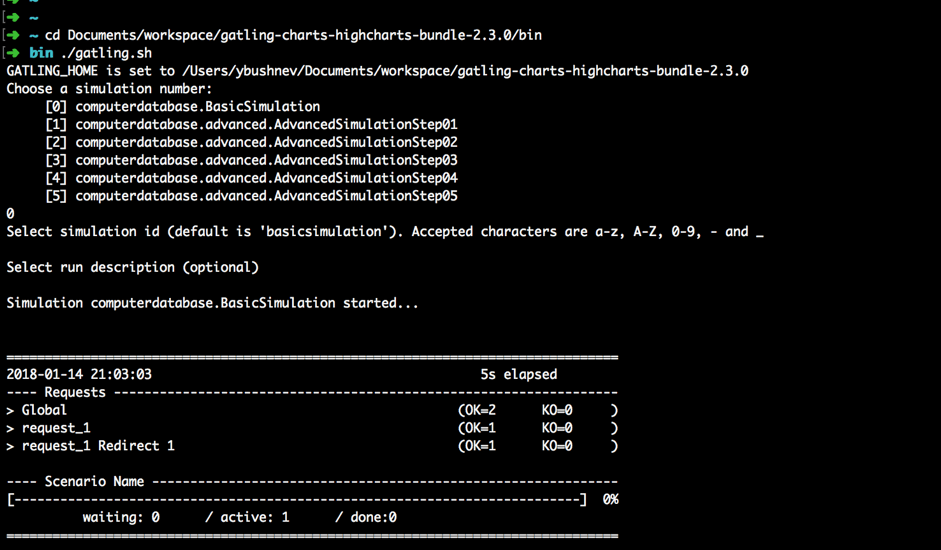
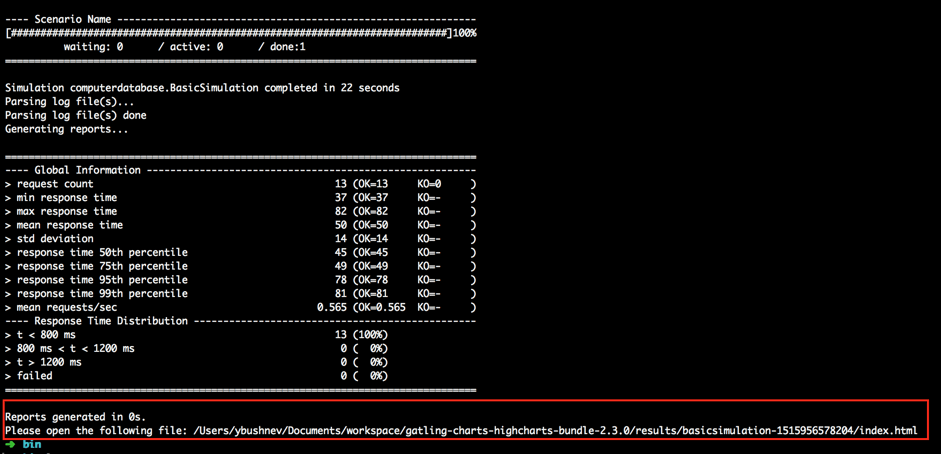
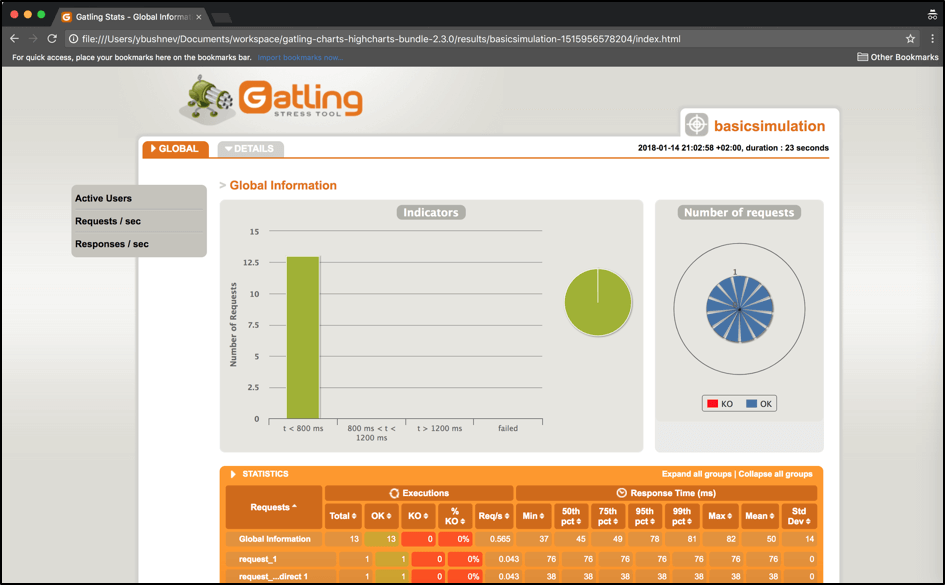
If you see a similar execution flow on your machine, everything is working fine and you are ready to write your tests. After the end of the test you should see a link that you can open to verify that the Gatling metrics reports are being built successfully:
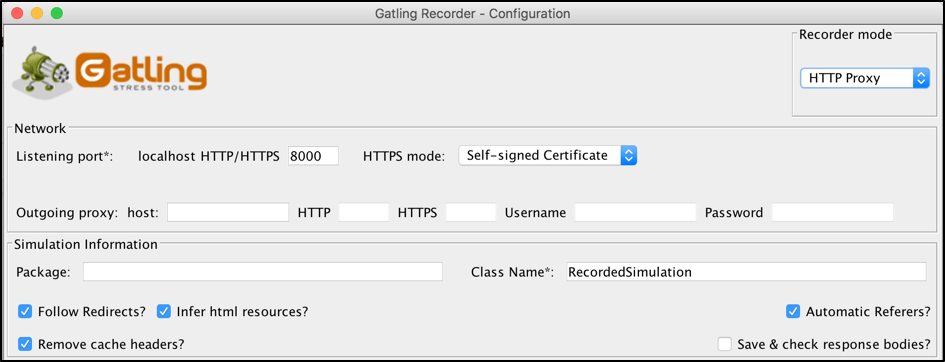
In addition to that, you can verify that Gatling is working properly by running the Gatling recorder, which is located in the same folder as the tests runner, and can be run using this command:
- > ./recorder.sh (UNIX)
- > ./recorder.bat (Windows)
Back to top
Gatling Configuration
You can configure the Gatling tests runner in three different ways:
- Using configuration files, located in the conf directory of the Gatling home directory
- Via the command line options
- Via the $JAVA_OPTS environment variable
It is worth mentioning that Gatling has very well documented configuration files. Usually, if you try to open internal configuration files belonging to performance tools, it takes a long time to get the meaning of each. Gatling is an exception. If you try to open the main configuration file located under ‘.conf/gatling.conf’, you will see such a property file:
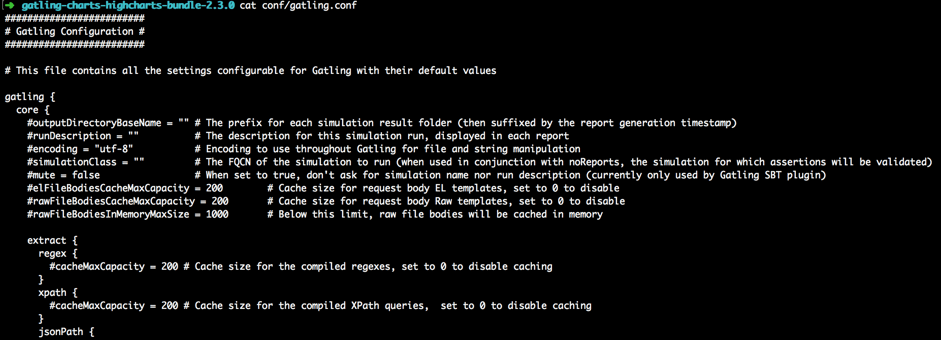
This is just an initial part of the configuration file but it can show you how well documented it is. Each property should be very clear so it doesn't make sense to go over it because each specific property has a detailed explanation (after the ‘#’ symbol in each line). Just keep in mind that almost all the necessary Gatling configurations can be found inside the ‘.conf/gatling.conf’ configuration file, so you can edit them yourself by using your favorite text editor.
Command-line options do not have such a wide choice of parameters for configuration, but they provide the most important configuration parts for changing the configuration during tests execution without having to spend time on editing the separate configuration file.
Here is a the list of the most useful command line options with their meanings:
/ –reports-only choose a custom location for saving reports -rf / –results-folder specify the custom location of test results -s / –simulation choose the simulation to be executed (Gatling simulation is a description of the load test that describes how to run the performance test) -on / –output-name override the default name of the tests output directory -m / -mute run the tests in mute mode during which the Gatling runner doesn’t ask you to input any parameters like simulation id or description (default values are used)" src="https://cdn2.hubspot.net/hubfs/208250/Blog_Images/Screen%20Shot%202018-01-30%20at%2011.31.56.png" style="width: 1258px; height: 964px;" />
The third configuration way is great when you need to specify a custom configuration. For example, if you need to send a custom variable inside your test like the number of users, you can do it this way even during test execution (assuming that syntax is ‘-D[variable name]=[variable value]’):
> JAVA_OPTS="-DuserCount=5" ./gatling.sh
Back to top
Summary
As you can see, Gatling installation is very straightforward. It works great out of the box so you don’t need to spend any time on the initial configuration. But at the same time, as soon as you feel strong enough and you have some additional needs for your performance framework, there are lots of ways to apply the required settings through a very clear Gatling configuration workflow.
Run your Gatling tests with BlazeMeter! Get scalability, multiple geo-locations and advanced reporting. To learn more, request a demo.