Blog
July 26, 2021

Open source Jenkins is a popular tool for test automation and for implementing shifting left through continuous integration and continuous deployment.
There are two ways to install Jenkins:
- On Windows (learn how on this BlazeMeter blog)
- With a WAR file version of Jenkins.
This blog will break down how to install Jenkins with a WAR file. Read along or skip to the section that interests you most.
Back to topElevate your Jenkins testing with BlazeMeter. Start testing for FREE today!
What is a Jenkins WAR File?
Back to topWAR is an acronym for web application archive. A Jenkins WAR file can be used on any Java-supporting platform or OS.
Installing a Jenkins WAR File
To get started, you first need to install a JDK. Jenkins supports Java 8. Once Java is installed, we can proceed with installing a Jenkins WAR file.
1. Download latest Jenkins WAR file here.
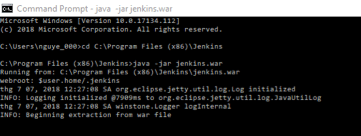
2. Copy the jenkins.war file to the folder you want. I created a folder named Jenkins in the path C:\Program Files (x86) and copied the jenkins.war file to it.
3. Open the command prompt window and browse to the directory where the jenkins.war file is present, through the command cd C:\Program Files (x86)\Jenkins.

4. Run the command java -jar jenkins.war
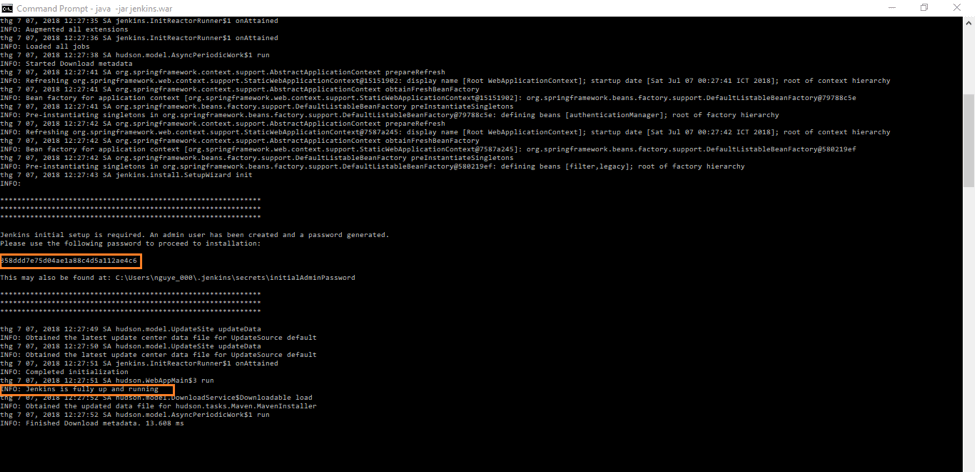
5. Wait until the process completes.

6. Take a look at the line “INFO: Jenkins is fully up and running” that indicates that Jenkins is running. Write down the random password that is auto generated. We will use this password for the initial login later.
7. Paste the URL http://localhost:8080 in your browser to browse to the Jenkins page.
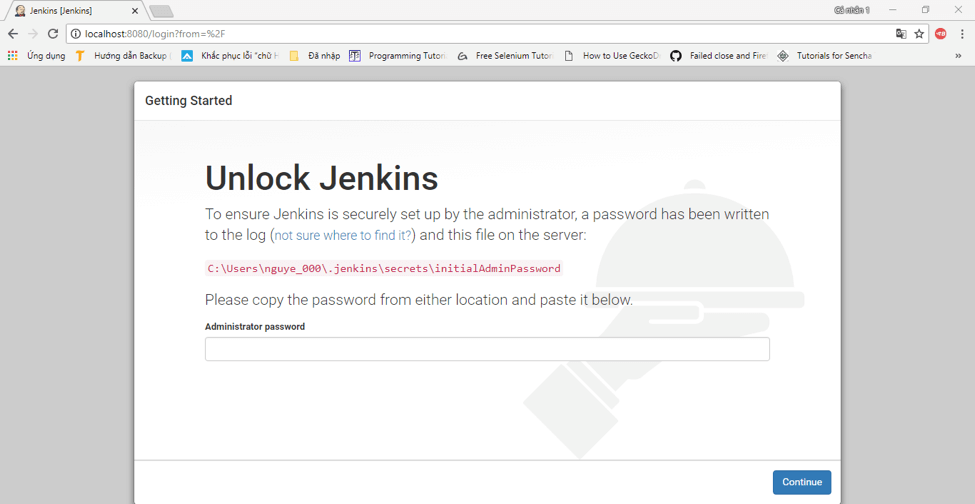
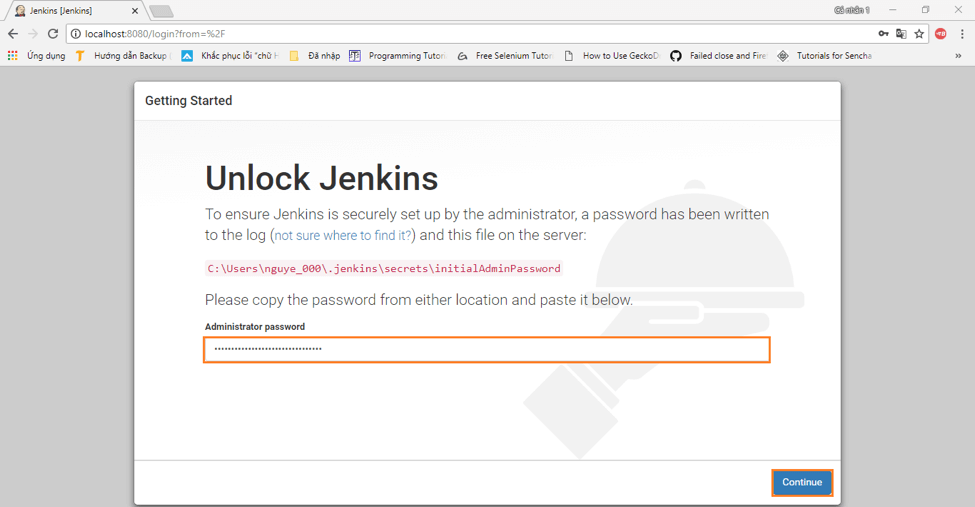
8. To unlock Jenkins, paste the random password that you wrote down in the previous step or copy it from the the user account folder, from the file C:\Users\\.jenkins\secrets\initialAdminPassword. Paste it in the Administrator password field and click on the “Continue” button.
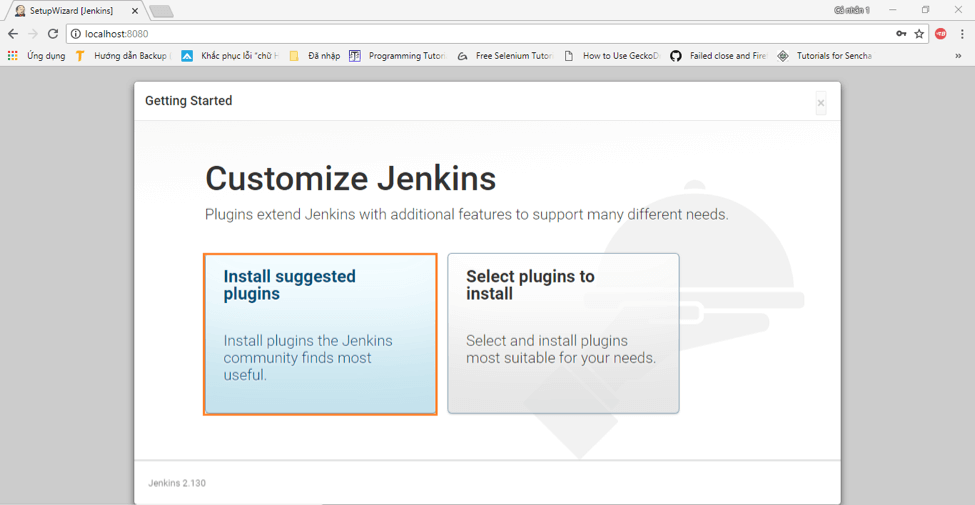
9. Install the suggested plugins or customize plugins installation according to your needs. We will install the default suggested plugins.
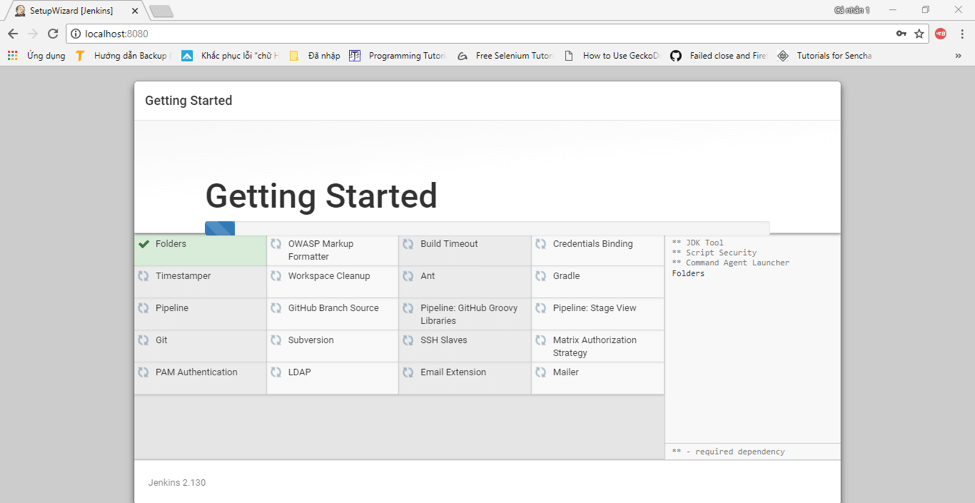
10. Wait for the plugins to complete the installation.
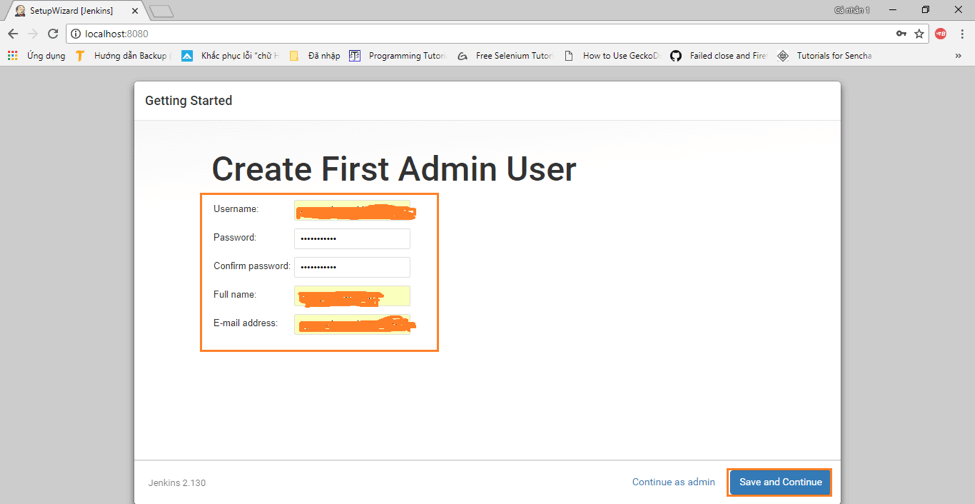
11. Create an admin user and click “Save and Continue”.
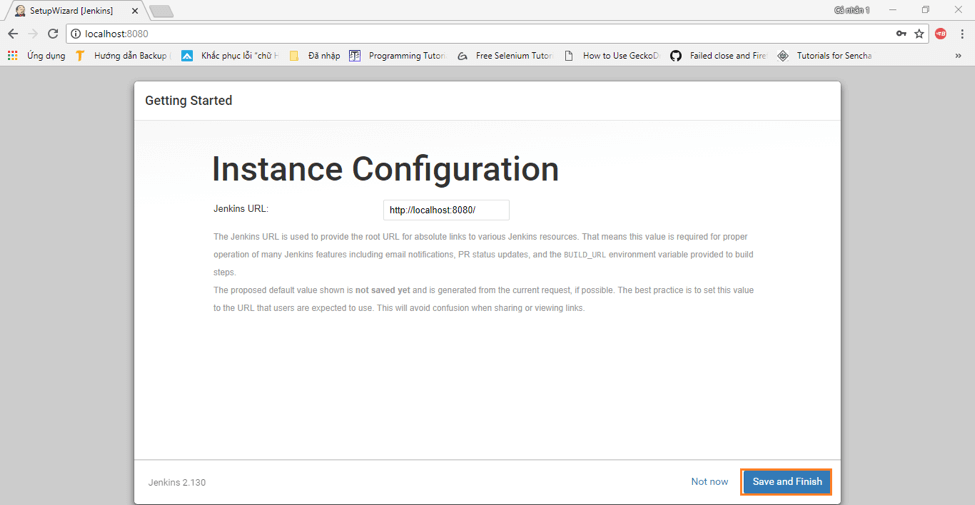
12. Click “Save and Finish” to complete the process.
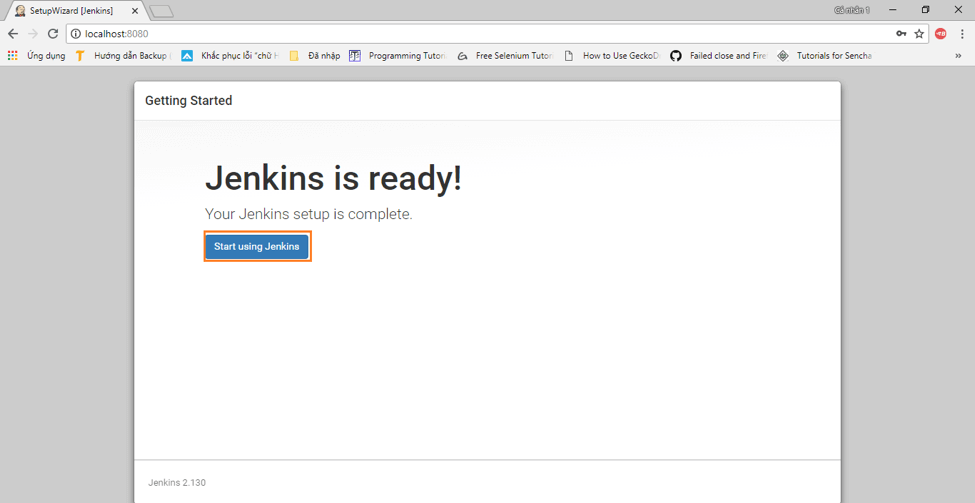
13. Finally! Click “Start using Jenkins” to start Jenkins.
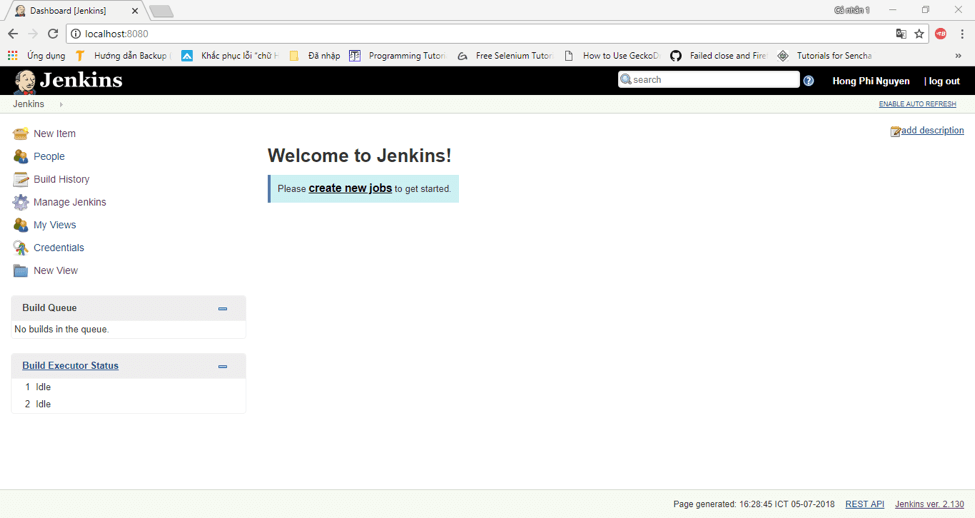
14. Here is the default Jenkins page. You can create your first job!