Blog
August 30, 2021
JMeter Redis Data Set Plugin - An Introduction

Open Source Automation,
Test Data Management
In this blog, I will explain how to load test while connecting to the Redis database, by using the Apache JMeter™ Redis Data Set plugin. I'll also cover how to install the JMeter Redis Database, how to populate it, and how to load test a website while taking values from the database.
Back to topWhat is Redis Used for?
Redis (REmote DIctionary Server) is an open source, in-memory data structure store, used as a database, cache and message broker. As an in-memory database, it keeps all the data mostly in the RAM. Redis enables high performance when reading/writing data, and is also useful when you need to ensure unique data is used across all test servers.
Back to top
Install the Redis Data Set JMeter Plugin
1. Install the Redis Data Set Plugins from the JMeter Plugins Manager:
- Download the Plugins Manager JAR file
- Copy the file to the lib/ext directory of your Jmeter
- Restart JMeter
- Click “Options” and then “Plugins Manager”
- Click “Available Plugins”
- Choose “Redis Data set” and then click “Apply Changes and Restart JMeter”
After restarting JMeter you should be able to see Redis Data Set config element in the menu.
Right click on Test plan -> Add -> Config Element -> jp@gc - Redis Data Set

Congratulations! The plugin was installed successfully.
Mac users: If you don’t have JMeter on your computer and want to install JMeter with plugins (one of them is the Redis data set plugin), you can easily run this command in the terminal:
brew install jmeter --with-plugins
Back to top
Install and Start Redis Locally
2. To install Redis on your Mac, type the following command in the terminal:
brew install redis
To learn how to install Redis for Linux here. Learn how to install Windows here.
3. After completing the installation, start it with the following command:
redis-server
4. The Redis server should start in a few seconds. Test the Redis server in another terminal tab by executing the following command:
redis-cli ping
If the Redis server is set up correctly, you will see the response: “PONG”
Back to top
Populate Data to the Redis Database
5. The Redis server is up and running. Now it is time to populate it with some test data.
Open the Redis command line interface by entering the following command in your terminal:
redis-cli
6. The Redis command line interface should open up. Now let’s add data to the Redis database:
- LPUSH blazedemo Boston,Rome
- LPUSH blazedemo Portland,Berlin
- LPUSH blazedemo Paris,Cairo
The LPUSH command adds values to Redis list with the key ‘blazedemo’.
It will look like this:
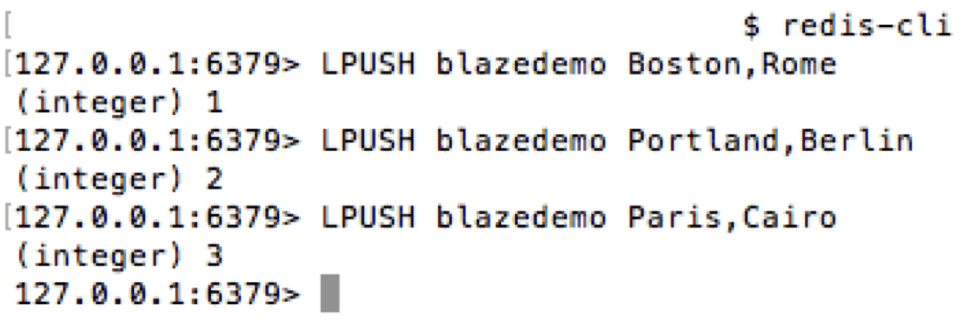
Good job! Your test data is now populated to Redis.
Back to top
Create Your JMeter Script With the Redis Data Set Config Element
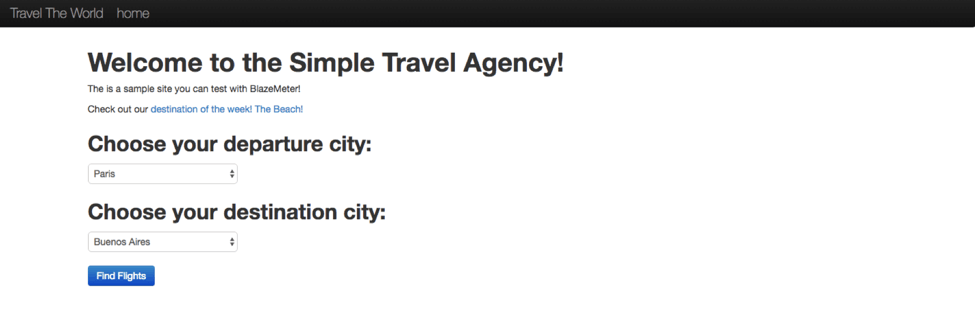
Now we are ready to create a test JMeter script to show how to use the Redis Data Set config element. Let’s run a load test on the BlazeDemo web site (http://blazedemo.com/), which is available to the public for trying out performance scripts.
This website’s landing page has a form for searching flights. Let’s parametrize the departure and destination cities in our script and take those values from the Redis database.
7. Add a Thread Group to Test plan
Right click on Test plan -> Add -> Thread (Users) -> Thread Group
8. Add the Redis Data Set to the Thread Group
Thread Group -> Add -> Config element -> jp@gc - Redis Data Set
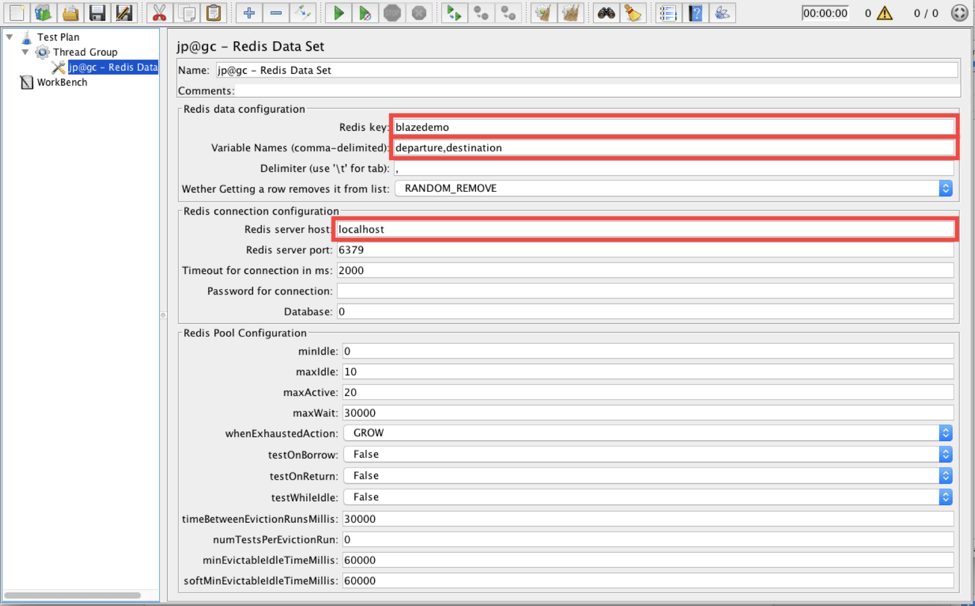
The ‘jp@gc - Redis Data Set’ has a number of parameters, let’s review some of them:
- Name: This name will appear on the left panel. We can choose any name. Let’s leave it as the default value for now.
- Redis key: This is a name for a list (ordered data) or a set (unordered data) in the Redis database. We chose ‘blazedemo’ in step 6, when populating the database.
- Variable Names: Those are names of variables exported by the Data Set to he Test elements. In our case they are ‘departure,destination’
- Delimiter: This is the separator used within a row stored in the Redis list or set. We used a comma (‘,’), so let’s leave it as the default value.
- Get Mode: There are two options:
- RANDOM_REMOVE uses a Redis list. Once a value is retrieved it is removed from the List.
- RANDOM_KEEP uses a Redis set. The retrieved value stays in the Set.
Important! We should leave the RANDOM_REMOVE option, since we created the Redis list in 6.
- Redis server host: The IP or domain of your Redis server. We should type ‘localhost’, since we are running the Redis server locally.
- Redis server port: Your Redis server port. Let’s leave it as the default value.
- Password: The password if you a have password-protected Redis server. Let’s leave it as the default value.
- Database: Database name. Let’s leave it as the default value.
Leave the other parameters with their default values.
9. Add an HTTP Request that searches for flights.
Thread Group -> Add -> Sampler -> HTTP Request
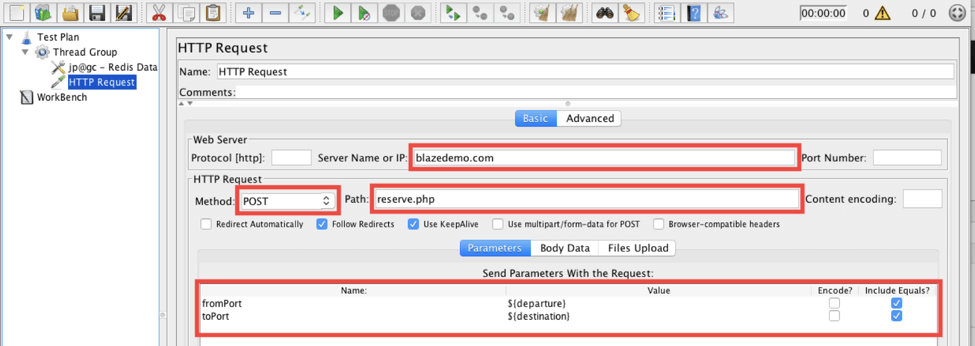
Fill in all required values:
- Server Name or IP: blazedemo.com
- Method: Post
- Path: reserve.php
- Parameters: fromPort: ${departure}, toPost: ${destination}
${departure} and ${destination} are variables that will be taken from the Redis database.
This request is for submitting a search form to find flights. The server’s response will navigate us to the next page pictured below:
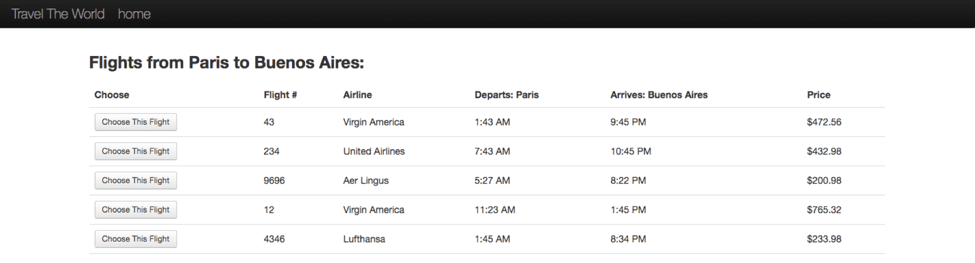
10. Add an assertion to confirm that the request returns the correct page. Let’s check the ‘Flights from Paris to Buenos Aires:’ text on the search result page.
HTTP Request -> Add -> Assertions -> Response Assertion
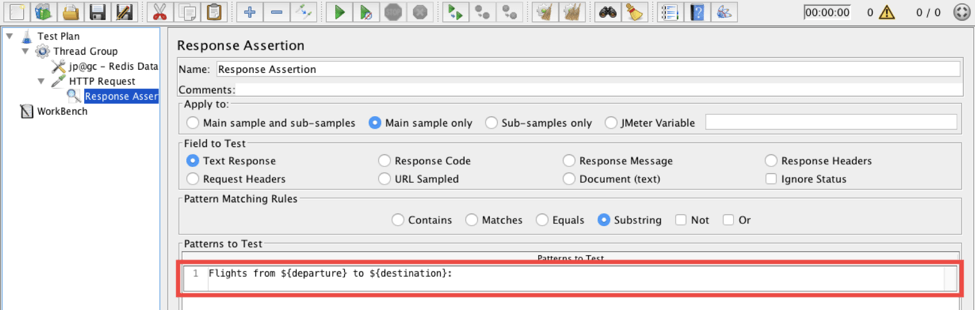
11. Fill in the patterns to test the field with ‘Flights from ${departure} to ${destination}:’
12. We’re almost done. Add a listener to see your test results:
Thread Group -> Add -> Listener -> View Results Tree
13. Run the script and check the results in the View Results Tree listener.

If you see the same test result as in the screenshot above you got the right page and your test Passed!
That’s it for this tutorial using the JMeter Redis Data Set. If you have any questions, comments, or would just like to share your experience with this tutorial you can send them to us via the form below.
You can learn more JMeter for free through BlazeMeter University.