Test data setup is required to run each and every single test. The more comprehensive the data, the more detailed and high quality the test scenarios will be. But test data setup isn't easy and time-consuming. BlazeMeter now offers test data setup, a new feature that enables developers and testers to obtain relevant test data straight from BlazeMeter.
For more information about Test Data setup in general, click here.
Table of Contents
What is Test Data Setup?
Back to topTest data setup reduces testers' test execution times significantly when working with many detailed records. Test setup enables you to create common detailed test data easily and efficiently. Set up records once for the class and reuse, no need to re-create records for each test.
Test Data Setup in BlazeMeter
1. To get started, sign in to your BlazeMeter account (or sign up for a free account), go to Functional tests and create a GUI Functional Test. More information here.
2. After creating your test with all its steps, click on “Test Data” (it’s on the right). The Test Data setup section will open up:
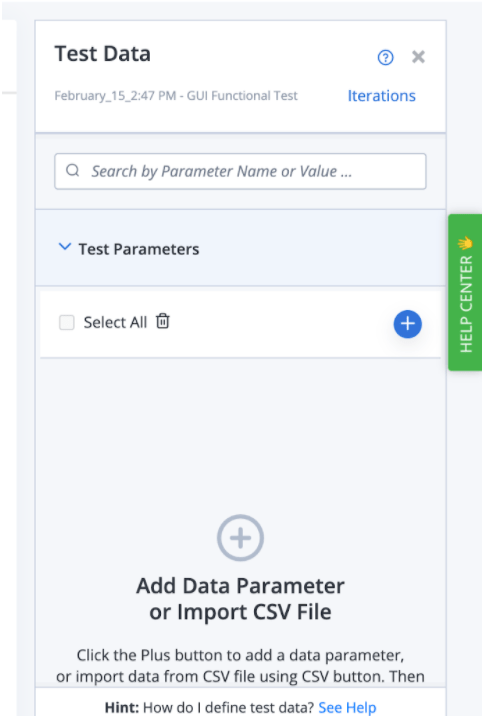
3. Now, you need to add the relevant parameters for your test. You can either upload your own CSV file, or generate dynamic data. Click on the “+” sign to add them.
Dynamic Test Data Setup
BlazeMeter enables you to generate synthetic data on-demand by choosing various parameters that will help you create your tests. You can randomize tests, with parameters like credit card numbers and IDs, provide context, like with dates, and test almost any use case or scenario with lists, identifiers, and more. There are multiple options, from testing the last day of the month to choosing a type of credit card. Feel free to explore!
When adding a parameter, enter a name for your reference. Then add the value. You can either:
- Type in a function from this list, or
- Click on the function symbol and choose a value from the drop-down list
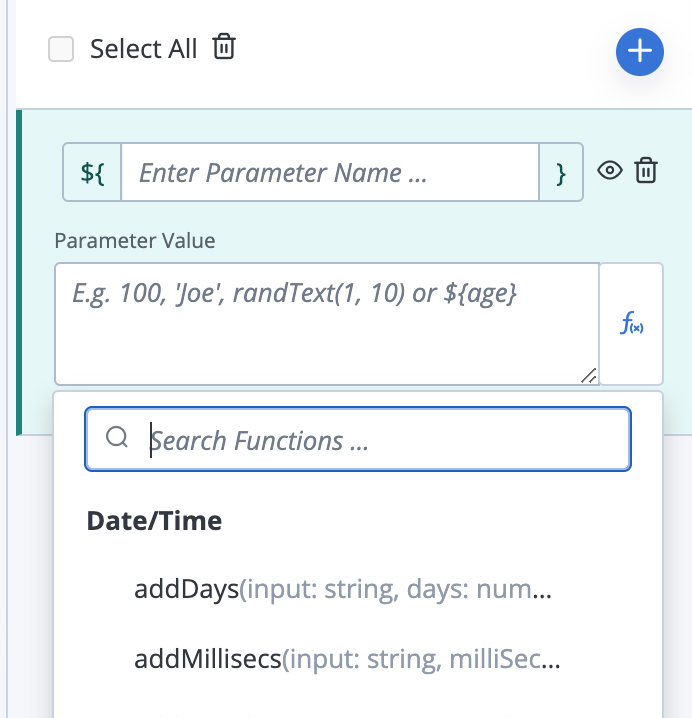
You can also add a hardcoded value, but we recommend generating the value through functions. For example, the function randCreditCard("VISA") returns a value that is a proper credit card number.
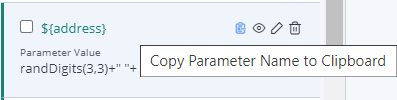
4. After adding the relevant parameters and variables for your test data setup to the “Test Data” section, copy the parameter name you wish to insert in the test.
5. Go back to your scenario and edit the step the parameter fits in.
6. Paste in the parameter instead of the existing value.
Run Your Tests
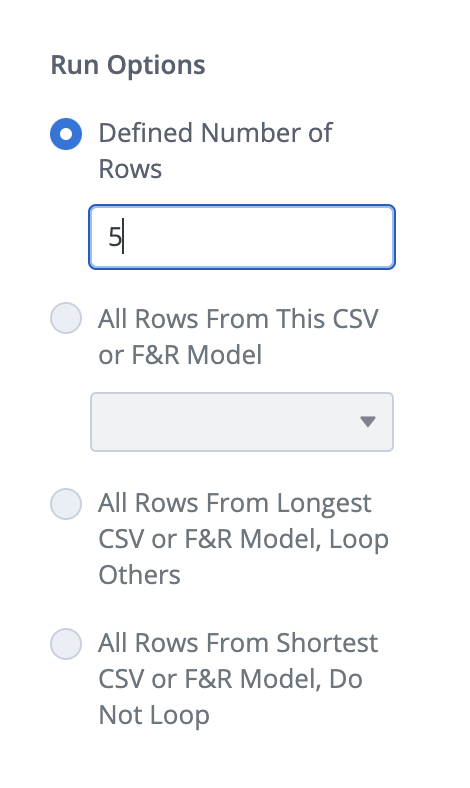
7. To run a number of tests, click on “Iterations'' and change the number of records. Unique data will run for each iteration.
8. Click on “Run”.
Congratulations! BlazeMeter will now generate test data for your test. You can see all the iterations in the summary screen, with the data used for each one.
Each time you run a test, different parameters will be generated. Test data setup from BlazeMeter enables you to run tests on-demand, including edge cases and negative testing.
Augmenting Static Data with Dynamic Data
You can also use dynamic data to augment the CSV files you have. There are three ways:
- Upload your CSV and use it.
- Combine CSV data (static) with dynamic data. For example, use the CSV but use dynamic data to get today’s date without having to regenerate a CSV with today’s exact date every day.
- Use data from your CSV as an input for dynamic data. For example, a CSV with a first name and last name could be used to generate email addresses from a random domain, in the format first.last@random_domain.
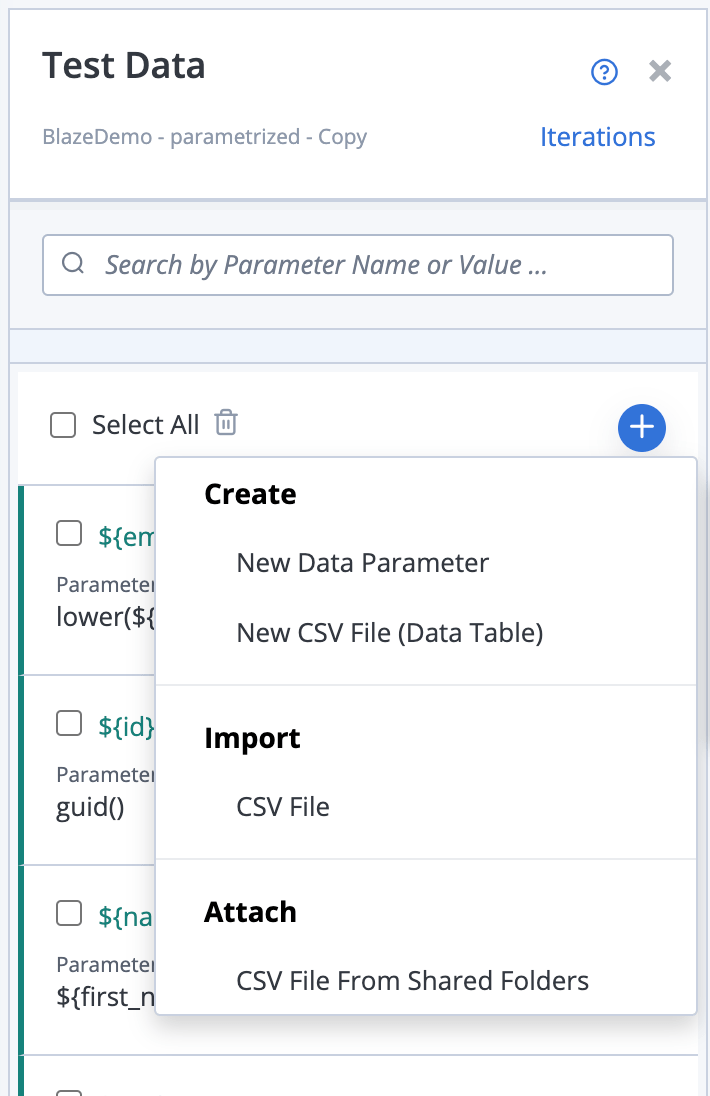
To add a static CSV to the test - you can either import it from the local filesystem, attach it from BlazeMeter’s shared folders or create it one in place using the built-in CSV editor.
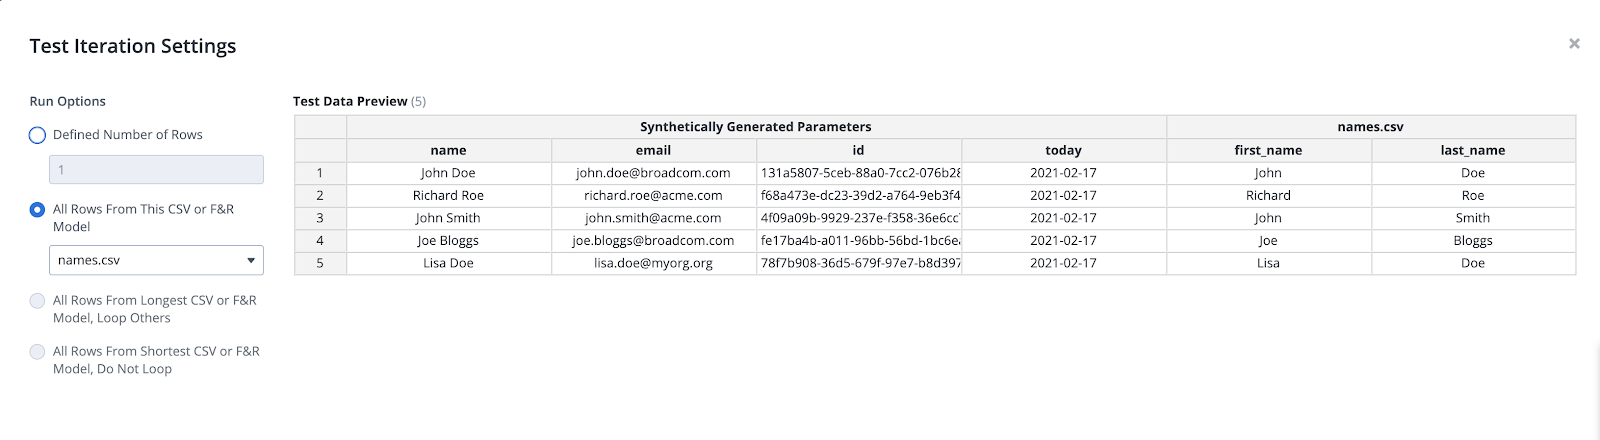
Here’s how CSV data can be used together with dynamic data. In the screenshot below, you can see all the data in a test. It has:
- Synthetic data (id, today)
- Static data from the CSV (first_name and last_name)
- Dynamic data created from the CSV (an email with a random domain: acme.com, and full name (first and last name together for convenience).
But what happens when you want to switch variables between different environments so you can use the same test throughout the SDLC?
Here’s what to do:
Switching Between Data Sources
If you add your CSVs to a shared folder, you can easily switch between them and use different data sources. Here’s how:
9. Add the CSV file you need into the Test Data setup section.

10. Click on the “Debug” toggle to see which data is being generated for the test you’re on.
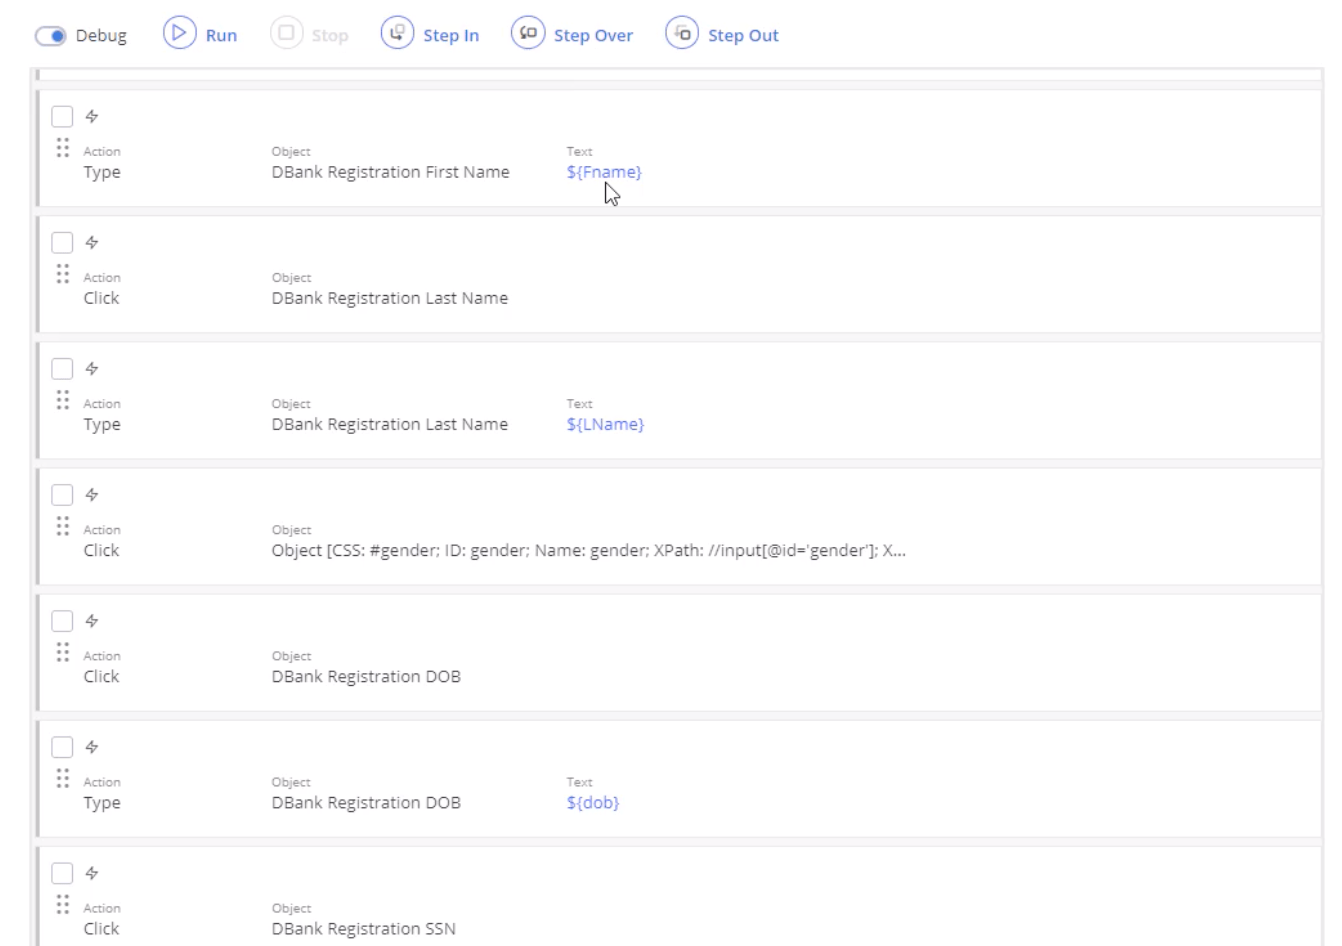
11. By clicking on each parameter you can see where it is extracting data from. In our case, the CSV for the QA environment.

12. To switch between CSV files, click on “Debug” again, go to the CSV files under “Test Data” and find the CSV file you want to switch to. You can also add a new file at any time!
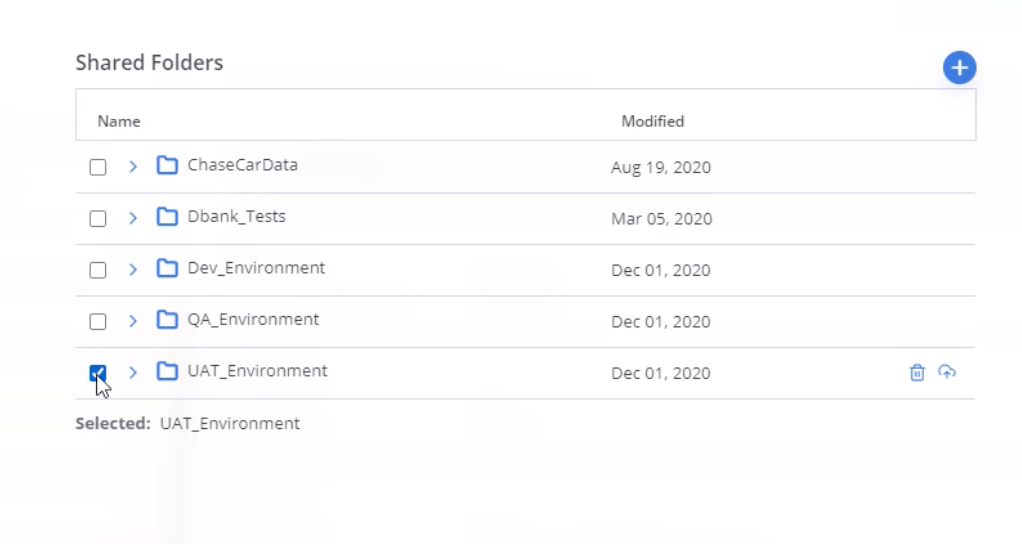
13. Choose the right CSV file. In this case we’re adding a file for the UAT environment:
14. Click on “debug” again, and you will see that the test parameter has changed according to the new environment:

You can now run the test for each environment, with the relevant test data, at the click of a button.